So, you've decided to finally try out that pen tool thing in Adobe Illustrator. Here are 5 quick tips to make using the pen tool a little less dreadful.
Tip #1:
Be a determinist
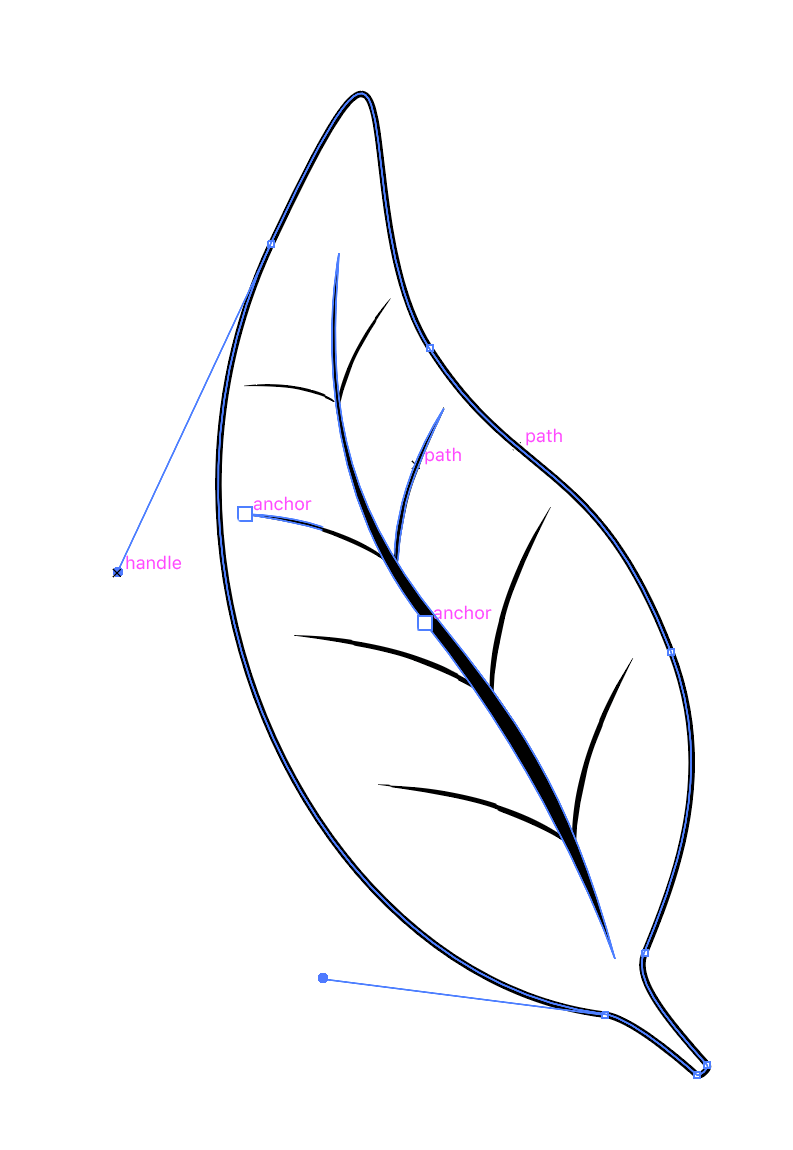
You create drawings using the pen tool by putting down points (called anchors or anchor points) and connecting them with lines or curves (called paths). However, you don't let your path set its direction after you put down anchor points—you determine that path's fate before you even put pen tool to artboard.
The handles before and after anchor points determine the curve of your path. Therefore, it's important for you to know where you're going with your pen tool before you go there.

If you're just getting started using the pen tool, it's quite likely you've discovered handles by accident. Don't despair—they're actually quite useful. But they're not intuitive and they never will be. (Sorry.)
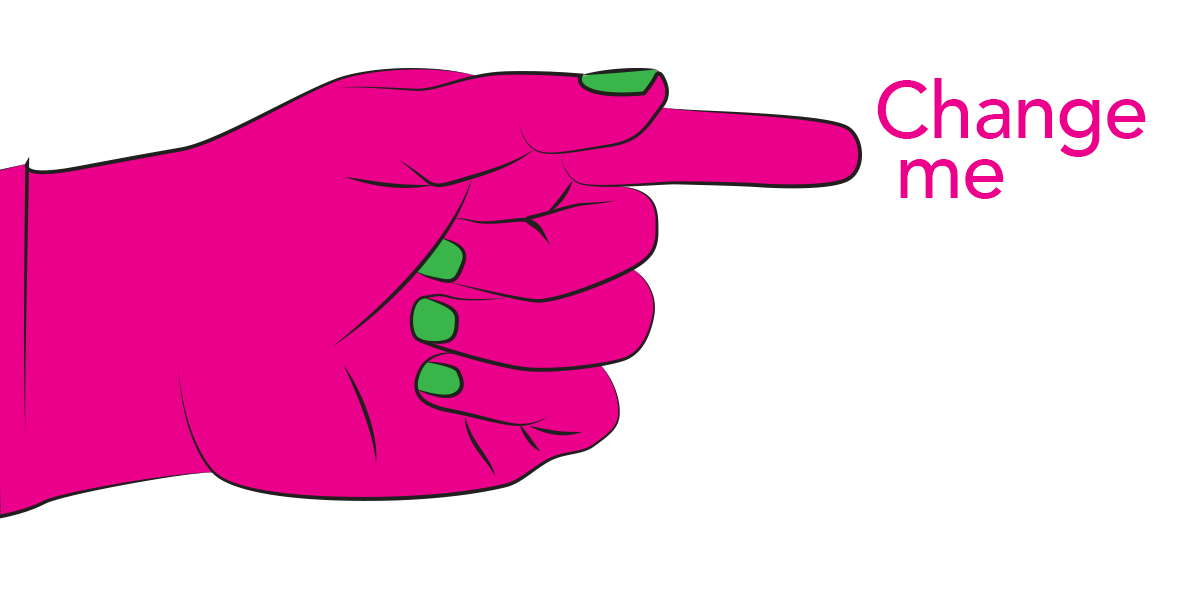
Tip #2:
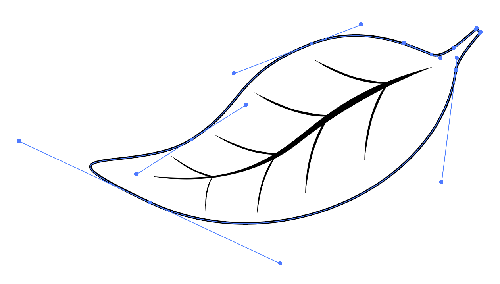
Drag the handle of your first anchor point before you release the mouse button
If you plan to create a curvy shape, pull the handle on that very first anchor point as demonstrated above. In other words, click and drag on the first anchor point before releasing the mouse button.
Here's how:
- Take your pen tool and put down an anchor point, but don't let go of the mouse's button yet.
- Hold the button down and drag until you see a handle. (That handle determines the fate of your path when you put down the next anchor point.)

- Now put down your second anchor point and see how the curve forms on its own.
See? You control the curve—don't let it control you.
Tip #3:
Be very careful where you put your anchor points
There's two things to remember when choosing the location of your anchor points:
- use as few as possible to get your shape created
- try to limit your anchor points to places where your curve changes direction
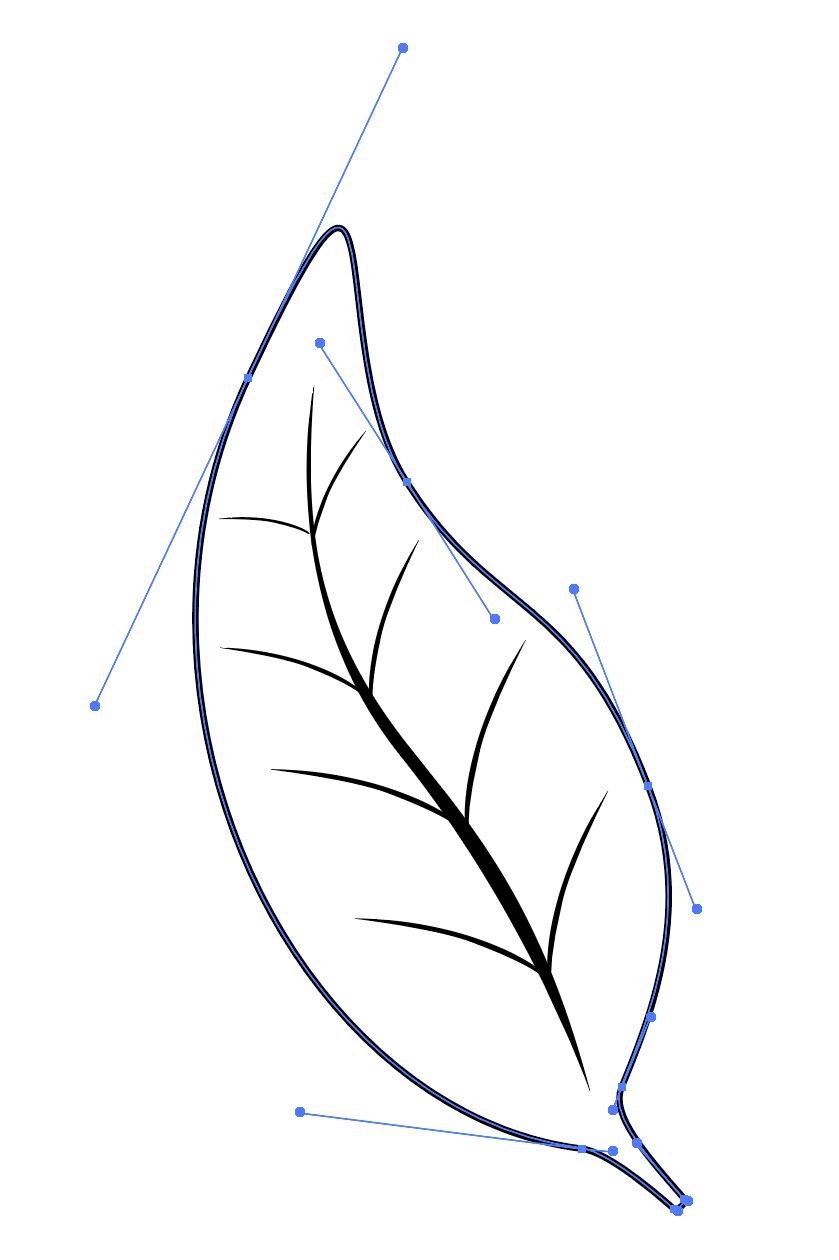
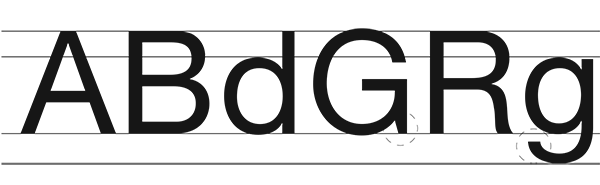
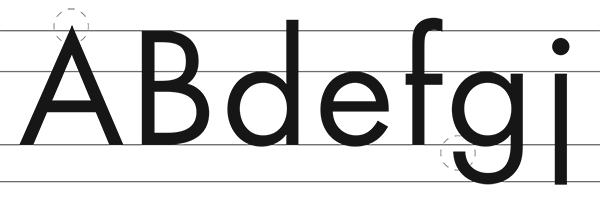
Take a close look at where the anchor points are, and where they aren't. Every anchor point you put down has the potential to change the radius and direction of your curve, so you want to limit them to places where you actually want to change the radius and direction of your curve. I mean, it makes sense, right?
Tip #4:
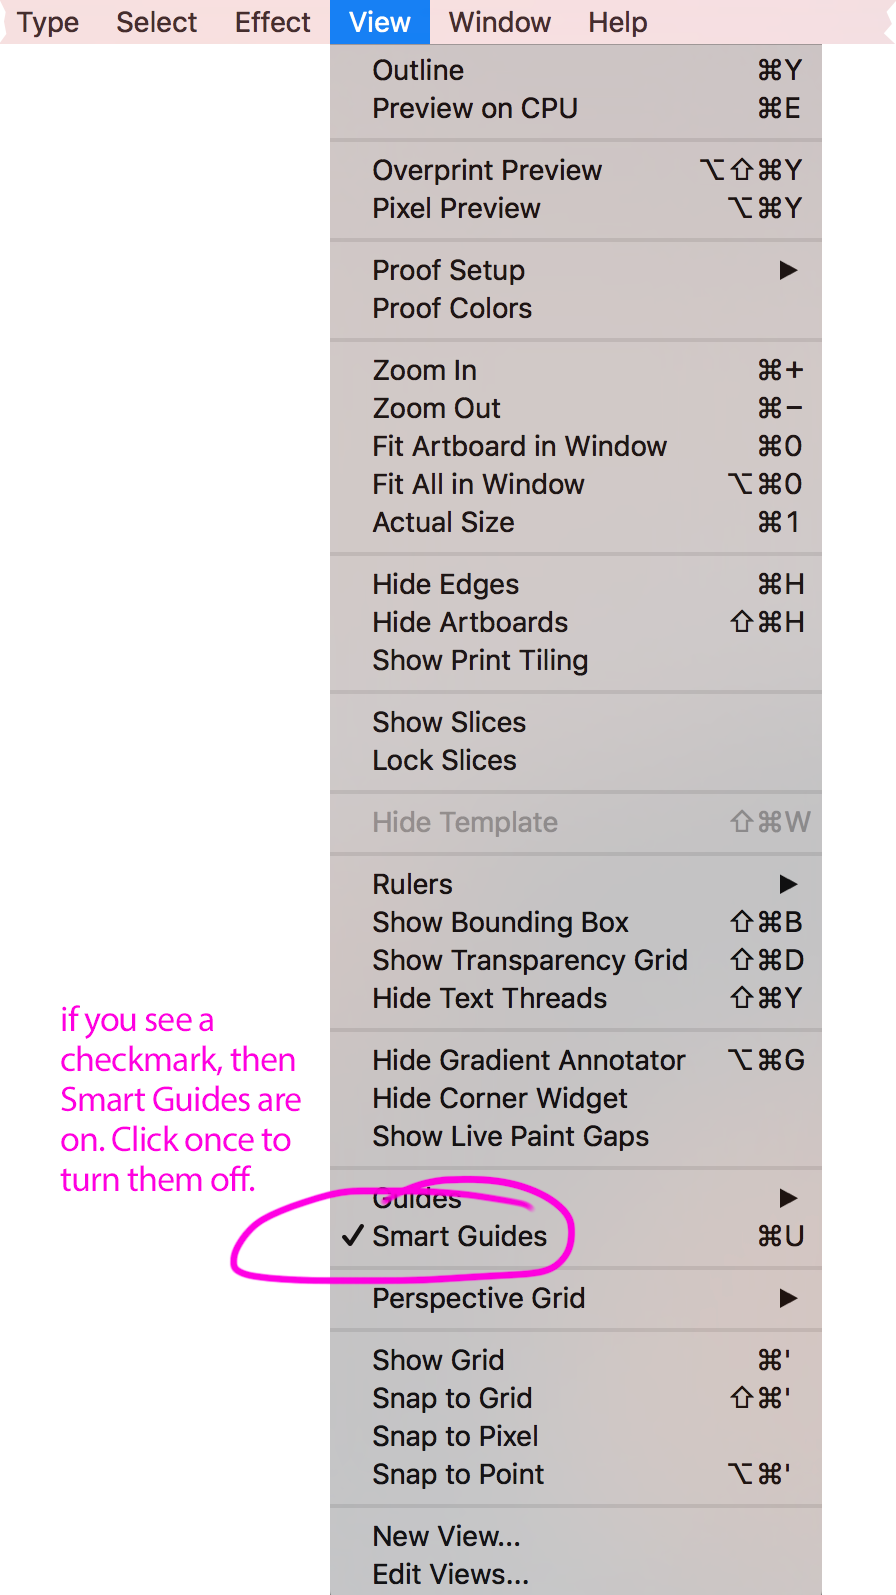
Turn off Smart Guides when you're creating organic shapes
Smart Guides certainly serve their purpose. But I find they are usually in my way unless I'm doing something super technical (like drawing circuits). When I'm trying to make my pretty leaf, they're just a pain in the tuchus.
You'll know you have Smart Guides on if "help" keeps popping up on your screen and looks something like this:
In my experience, users just now trying to get a handle on the pen tool (no pun intended) find Smart Guides to add an extra layer of frustration. So I always advise to turn them off.
To turn off Smart Guides, go to View in the top menu and scroll down until you see "Smart Guides." If you see a checkmark beside the words "Smart Guides," it means Smart Guides are on. Click once on those words to turn Smart Guides off.
Tip #5:
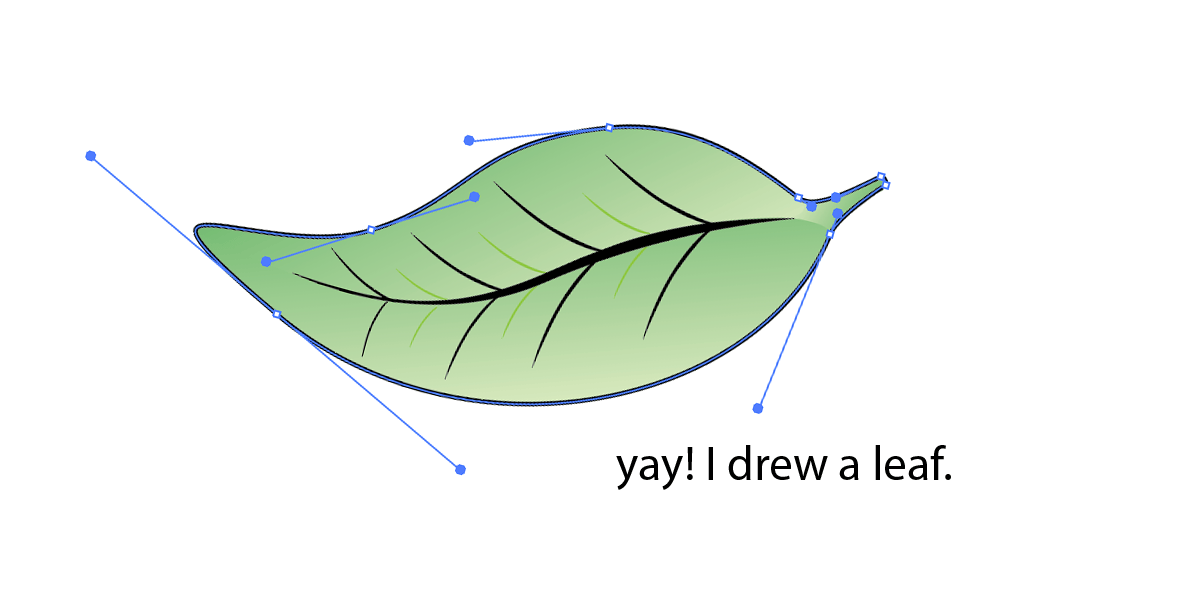
Close your paths
Closing your paths are a good idea for a variety of reasons:
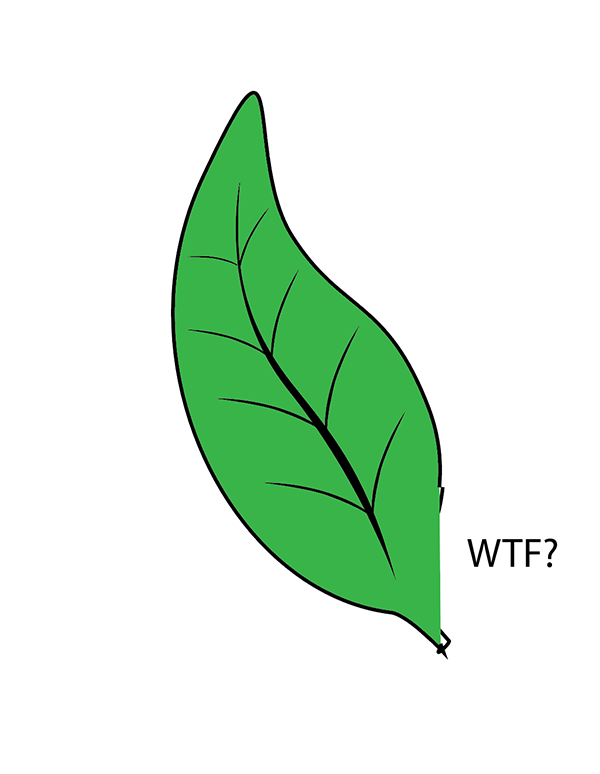
- you avoid weird things like this
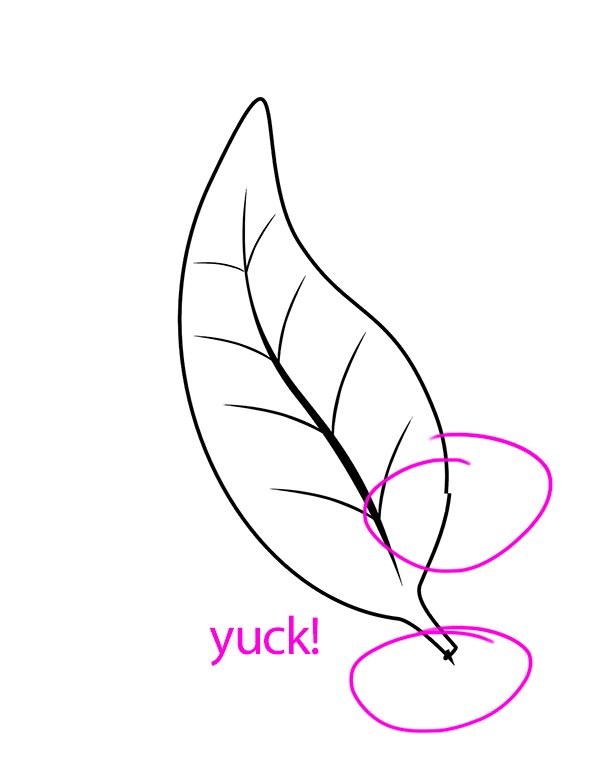
- you can more easily shade your shape
- you can avoid weird things like this (it bears repeating how not closing your paths can cause weird things to happen)
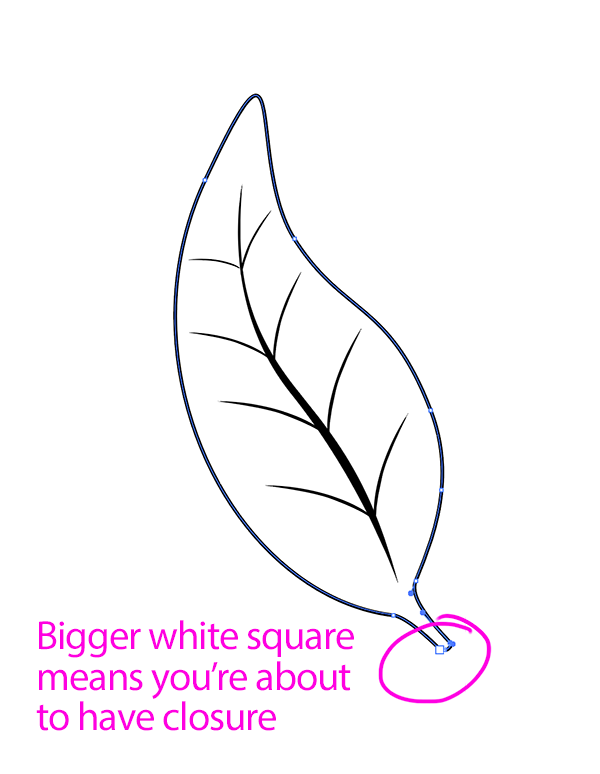
To close a path, hover your cursor over the first anchor you put down until the little white box that is your cursor turns into an even bigger white box. This is your cue that the next click of your mouse will close the path.
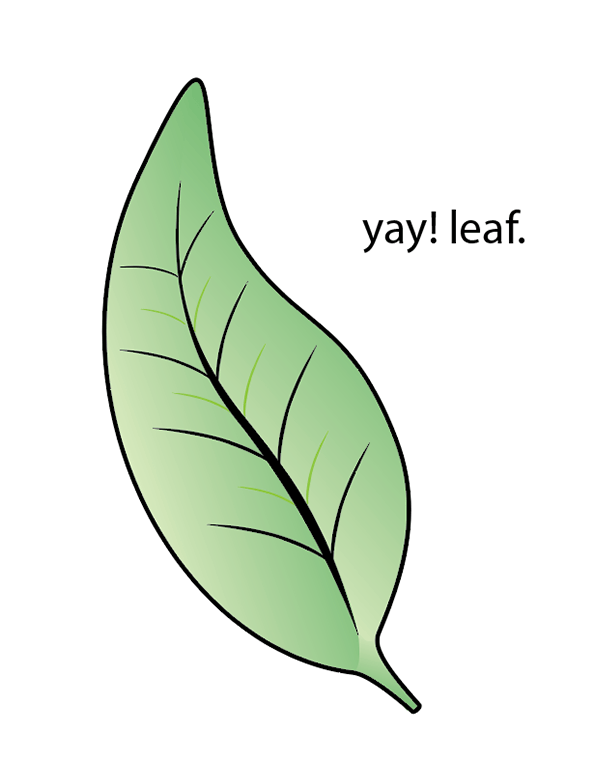
And there you have it! A pretty leaf.
Article directory:
3 Simple Ways to Edit PDFs
Take charge of your files without having to bother your designer
Read more >
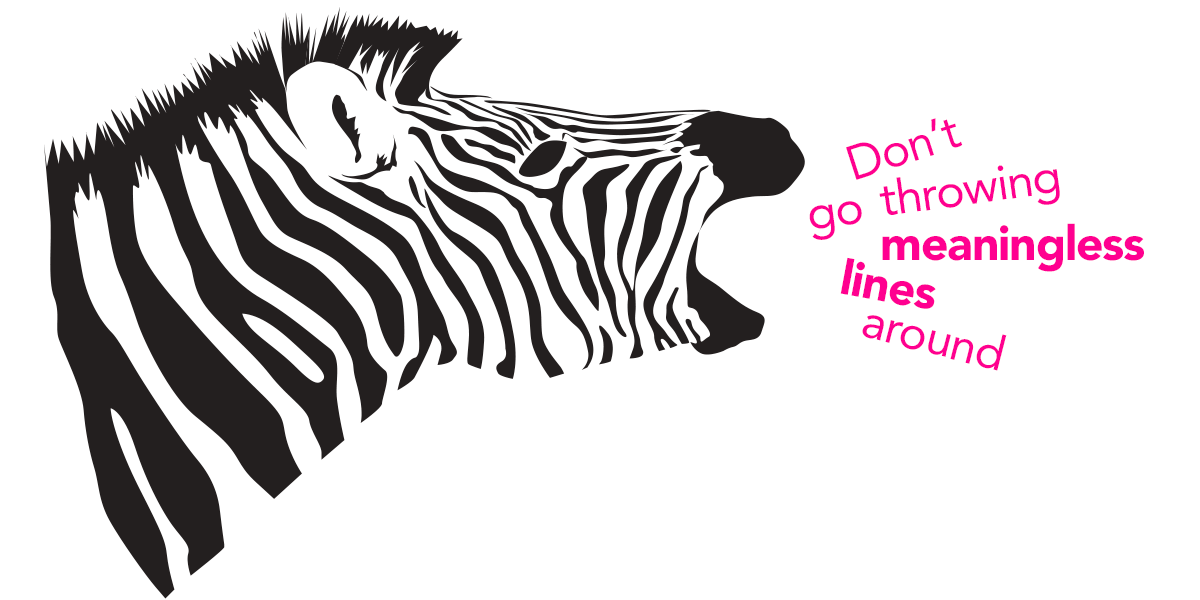
4 Common Mistakes When Using Line in Design
Lines have meaning. Use them correctly or look like a buffoon.
Watch Video >
5 Quick Tips for Using the Pen Tool
Nobody likes the pen tool on the first ten tries. These tips will make using it less painful.
Watch Video >

Your own POPs and PODs
Create your personal design brand using marketing principles.
Read more >

What I tell students when they say they want to freelance
Spoiler Alert: I usually try to talk them out of it.
Read more >
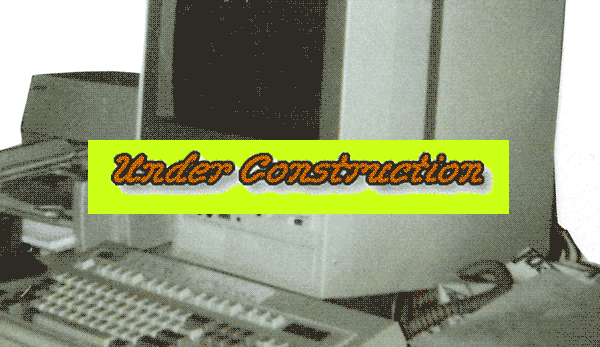
What I miss about Web design of the '90s
Web design has come a long way since the last century, for better or for worse.
Read more >
Semiotics in typography
There is a reason the shape of a serif makes you feel that way.
Read more >
An introduction to Gestalt principles
Know what it's really all about.
Read more >

To barter or not to barter
Here are some general guidelines to follow to ensure relationships emerge unscathed.
Read more >
On spiders
A critical analysis of why these creatures strike horror into our hearts.
Read more >
An homage to geometric sans signage
These typefaces became the embodiment of the Modern era.
Read more >
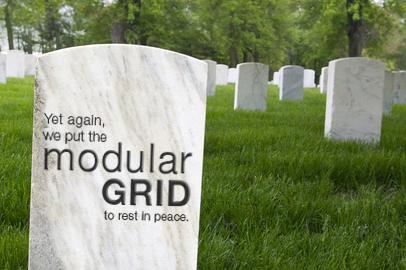
The centered text takeover
A hopeful eulogy for the modular grid.
Read more >

Copyright and Imagery
Know the origin of those images, and know the licensing agreements therein.
Read more >
Rebecca Rule Kilimnik | © 2017 | kilimnik.com